
Inventory
The Inventory is the tool for counting the real stock of your stores / warehouses and passing it to the eShop. You scan the barcodes of the products you have in your hands and then, with one button, the quantities are written to the products. You find it in the menu Products → Inventory.
How it works, in two steps
- Entry: you choose a store and scan (or type) the barcodes. Each scan is one row and means one piece. At this stage the eShop’s stock does not change.
- Import into the database: when you finish, you press “Import Inventory” and the rows are turned into quantities on the products.
This separation lets you check the count before you touch the real stock.
Step 1: Entering barcodes
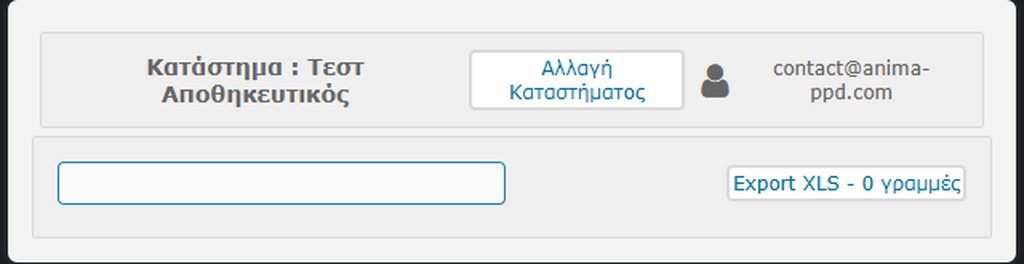
- Choose a store: on the main screen you choose the store / warehouse where you count. The stores are defined in the Platform Setup. With the Change Store button you can change later.
- Enter the barcode: in the “Barcode Entry” field with a barcode scanner or with the keyboard, and press Enter. The row is saved with date, store, barcode and the user who entered it.
- Each piece once: if you have 5 pieces of the same product/size, you scan the same barcode 5 times.
- Wrong entry? the row has a ✖ to delete it (it asks for confirmation).
The page also adapts to mobile, so you can count with your phone in the warehouse (or connect a scanner). On mobile the same screen appears in a compact form: the store, the barcode field and the row counter.

Problematic barcodes
Each barcode is checked immediately: if it exists in the eShop’s products (or, if Atlantis is active, in the ERP as well) it is considered correct. Otherwise it is recorded as problematic and shows in red. Problematic barcodes do not affect the stock during import; they are usually a wrong scan or a product that has not been registered yet.
Checking the count

- List: the main screen shows the Summary Inventory List of all stores or, if you choose a store, only its rows. You choose how many rows are displayed per page (from 10 to 120).
- XLS Export: downloads the list (all stores or one) as a file with columns Barcode, Problematic, Store, Date and Username. It is handy for seeing the problematic ones and comparing with the count on paper.
- Delete Inventory: deletes all the rows of the inventory. It asks for confirmation and cannot be undone.
Step 2: Import into the database
With the Import Inventory button a window opens with three options. The choice determines what happens to the existing stock before the quantities you counted are added.
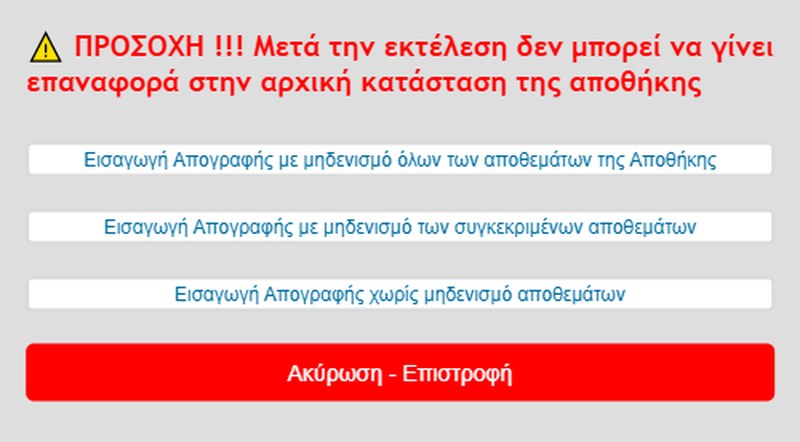
The three options
- Import with zeroing of all Warehouse stock: first the quantities of all products are zeroed (and the stock of all stores / warehouses) and then the quantities from the inventory are added. Use it when you counted the entire warehouse and want the stock to become exactly what you counted.
- Import with zeroing of the specific stock: only the products that have a barcode in the inventory are zeroed and then the quantities are added. The other products are not touched. It is handy when you count part of the catalogue.
- Import without zeroing stock: the inventory quantities are added to the existing ones. It zeroes nothing.
Caution: option 1 zeroes the stock of all products in all stores, not only of the store you counted. Choose it only when the inventory covers all warehouses. After execution there is no restore; confirmation is requested before each option.
What exactly happens with each row
Each correct barcode of the inventory adds 1 piece to the product and to the specific size that corresponds to the barcode, and at the same time 1 piece to the stock of the store where you scanned it (the stock per warehouse). When it completes, the message “The import into the Database is complete” appears and the action is recorded in the Log.
Recommended procedure
- Count and scan the products of each store / warehouse (all of them, if you will use option 1).
- Do an XLS Export and check the problematic barcodes. Fix them or add the missing products.
- Choose the appropriate Import Inventory option and confirm.
- After the import delete the inventory. The rows do not delete themselves, and if you import them again with option 3, the quantities will be added a second time.
- If the stock must show in the store immediately, run the Product Store Updater (usually done automatically by the server).